- EGLRI K-Beauty Newsletter
- Posts
- The Importance of Aftercare for Eyelash Extensions: The Role and Use of Removers
The Importance of Aftercare for Eyelash Extensions: The Role and Use of Removers
Learn why proper eyelash extension aftercare is essential and how different types of removers can help maintain healthy, beautiful lashes.
BANGHUI JEONG
March 15, 2025
The Importance of Aftercare for Eyelash Extensions: The Role and Use of Removers
Learn why proper eyelash extension aftercare is essential and how different types of removers can help maintain healthy, beautiful lashes.
Why Aftercare Matters: The Role of Eyelash Extension Removers
Eyelash extensions are a popular beauty enhancement, offering a natural-looking lash boost while saving time on daily makeup routines. However, as your natural lashes grow, the attached extensions may shift, lose shape, or fall out unevenly. This is where lash removers become essential.
In this guide, we’ll explore the importance of proper eyelash extension aftercare, the role of removers, and the different types available to safely and effectively maintain your lash look.
Eyelash Growth and Natural Changes
Eyelash extensions are applied by bonding synthetic lashes to natural lashes with adhesive. While they look perfect immediately after application, natural lash growth causes gradual changes over time.
Your natural lashes follow a growth cycle of approximately 4 to 6 weeks, consisting of three phases:
Growth phase (Anagen)
Resting phase (Catagen)
Shedding phase (Telogen)
As natural lashes shed, the extensions attached to them will also fall off. In some cases, clients may want to remove their extensions before the natural shedding process is complete.
#EyelashExtensions #LashCare #LashRemover #LashAftercare #BeautyTips #LashTech #LashArtist #EyelashHealth #LashRemoval #Skincare
When Is a Lash Remover Needed?
Lash removers are necessary in several situations, including:
Shape Distortion: As natural lashes grow, extensions may shift, creating an uneven look.
Partial Shedding: When only some extensions fall out, it can make lashes appear unbalanced.
Style Change: Clients wanting to switch to a new lash style need their current extensions removed.
Allergic Reactions or Irritation: Some clients may experience sensitivity to the adhesive and require immediate removal.
Routine Maintenance: To maintain healthy lashes, old extensions should be removed before a fresh application.
In these cases, using a proper lash remover ensures safe and effective removal without damaging the natural lashes.
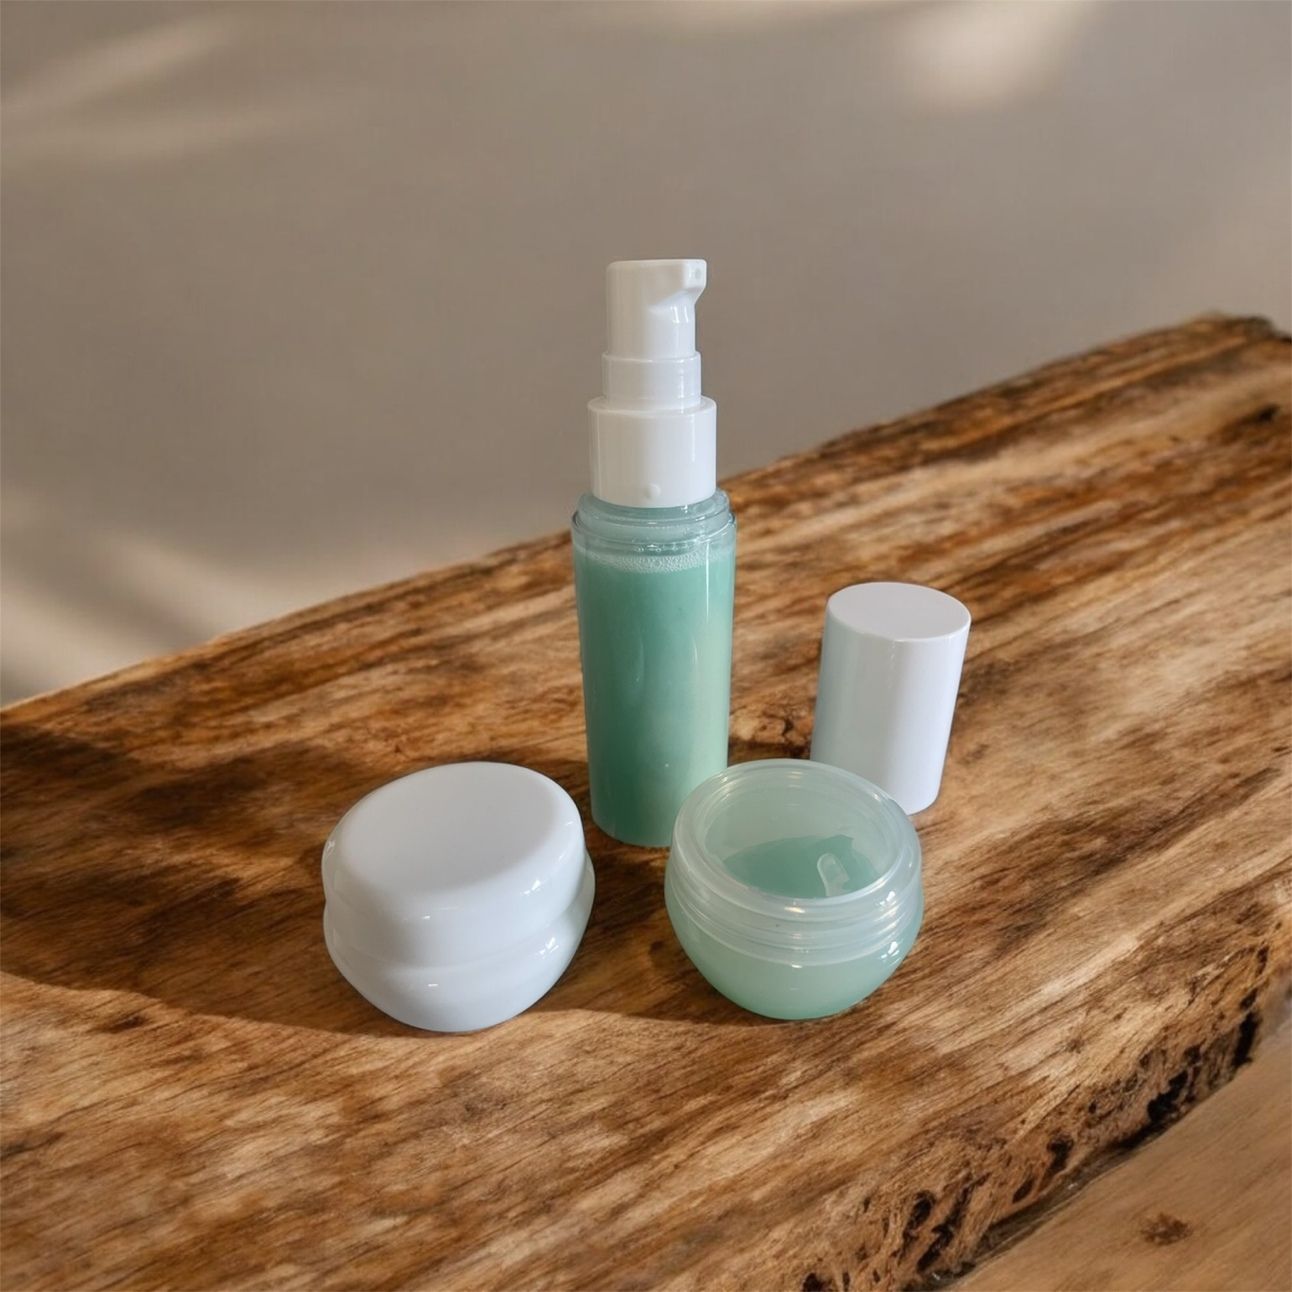
Types of Lash Removers and Their Uses
Lash removers come in gel, cream, and liquid forms, each with unique benefits and applications. A skilled lash technician should choose the most suitable remover based on the client’s needs.
1. Gel Remover
Gel removers have a thick consistency, preventing dripping and allowing precise application. They are ideal for targeted removal.
✅ Key Features:
Minimal dripping for safer use
Suitable for partial lash removal
Slower action time, allowing controlled adhesive breakdown
Less irritation for sensitive skin
🔹 Best For:
Fixing uneven lash extensions
Changing style for a specific lash section
Clients with sensitive eyes who cannot tolerate liquid removers
2. Cream Remover
Cream removers offer a balance between gel and liquid removers. They have a smooth texture, providing quick yet controlled removal.
✅ Key Features:
Faster action time than gel removers
Easier to apply than liquid removers
Moisturizing properties help protect the delicate skin around the eyes
Versatile for both full and partial lash removal
🔹 Best For:
General lash removal in professional salons
Clients who want both partial and full removals
Safe and efficient removal while minimizing irritation
3. Liquid Remover
Liquid removers work the fastest and are effective for removing full sets of extensions. However, they require careful handling due to their runny texture.
✅ Key Features:
Fastest removal time
Strongest adhesive breakdown
Ideal for removing an entire set at once
Must be used with under-eye pads to prevent dripping
🔹 Best For:
Complete lash extension removal
Clients in a rush who need a quick removal process
Thick adhesive or older extensions requiring extra strength
How to Use Lash Removers Safely
Because lash removers contain chemical agents, proper handling is crucial to avoid irritation or damage to natural lashes.
Step-by-Step Removal Process
1️⃣ Preparation:
Clean the client’s eye area.
Apply under-eye pads or tape to protect lower lashes.
Instruct the client to keep their eyes closed.
2️⃣ Applying the Remover:
Use a microbrush or applicator to apply the remover to the bonded area.
Gel and cream removers should be precisely placed at the lash base.
Liquid removers can be applied to a cotton pad and placed over the lashes.
3️⃣ Waiting Time:
Follow the recommended wait time (typically 1-5 minutes).
The duration depends on the remover type and adhesive strength.
4️⃣ Lash Removal:
Gently slide off the extensions without force.
If necessary, use a microbrush to dissolve any remaining adhesive.
5️⃣ Final Cleansing:
Rinse with water or a lash cleanser to remove any residue.
Check the condition of the natural lashes and apply soothing products if needed.
Important Safety Tips
⚠️ Avoid Contact with the Eyes
Ensure the remover does not enter the client’s eyes.
If contact occurs, rinse immediately with water.
⚠️ Conduct an Allergy Test
Patch-test new products before use to check for allergic reactions.
⚠️ Follow the Recommended Time
Leaving the remover on too long may cause irritation or weaken natural lashes.
⚠️ Do Not Pull or Force Removal
Forcing off extensions can damage natural lashes. Always allow the remover to dissolve the adhesive completely.
⚠️ Store Removers Properly
Keep removers in a cool, dry place and tightly seal after use to prevent contamination.

Lash Artist Strategies for Using Removers
A professional lash artist should tailor their approach based on the client’s needs, choosing the right remover and technique accordingly.
1. Partial Lash Removal
This method targets specific areas for correction without removing the full set.
✅ Best Removers: Gel or Cream
🔹 Steps:
Use a microbrush to apply the remover to the needed area only.
Avoid contact with surrounding lashes.
Let the remover sit for the recommended time.
Gently remove the affected extensions and reapply new ones if needed.
🔹 Ideal for:
Fixing uneven lash extensions
Adjusting specific areas (e.g., inner or outer corners)
Changing the curl or length of certain lashes
2. Full Lash Removal
This method removes all extensions at once, ideal for clients switching styles or needing a fresh start.
✅ Best Removers: Liquid or Cream
🔹 Steps:
Apply under-eye pads for protection.
Evenly distribute the remover over the lashes or place a remover-soaked cotton pad over the eyes.
Wait for the adhesive to dissolve.
Gently remove the extensions and cleanse the lashes completely.
🔹 Ideal for:
Clients wanting a completely new look
Removing old extensions before a fresh application
Clients experiencing an allergic reaction to the adhesive
Final Thoughts
Proper aftercare and the right remover are essential for maintaining healthy, beautiful lashes. Whether it’s a partial correction or a full removal, using the correct technique ensures a safe and irritation-free experience.
For lash artists, mastering the different types of removers and their applications is key to providing professional, high-quality lash services.
Would you like to learn more about lash extension care and removal techniques? Stay tuned for expert tips and guides! 💖
Reply